How to Upload an Image to Silhouette
Hi anybody, I'm Bonnie from expressionsvinyl.com and if y'all're like me, kind of a newbie to vinyl and the Silhouette machine, I want to show you lot one of the very basic kickoff things you're going to want to know; how to import images onto your Silhouette. You were probably super excited when you opened your box, took out your machine and hooked it up to your estimator. Only and so you lot thought, "What at present? How do I get images to cut?" I'chiliad going to show you how to do just that. Permit's begin:
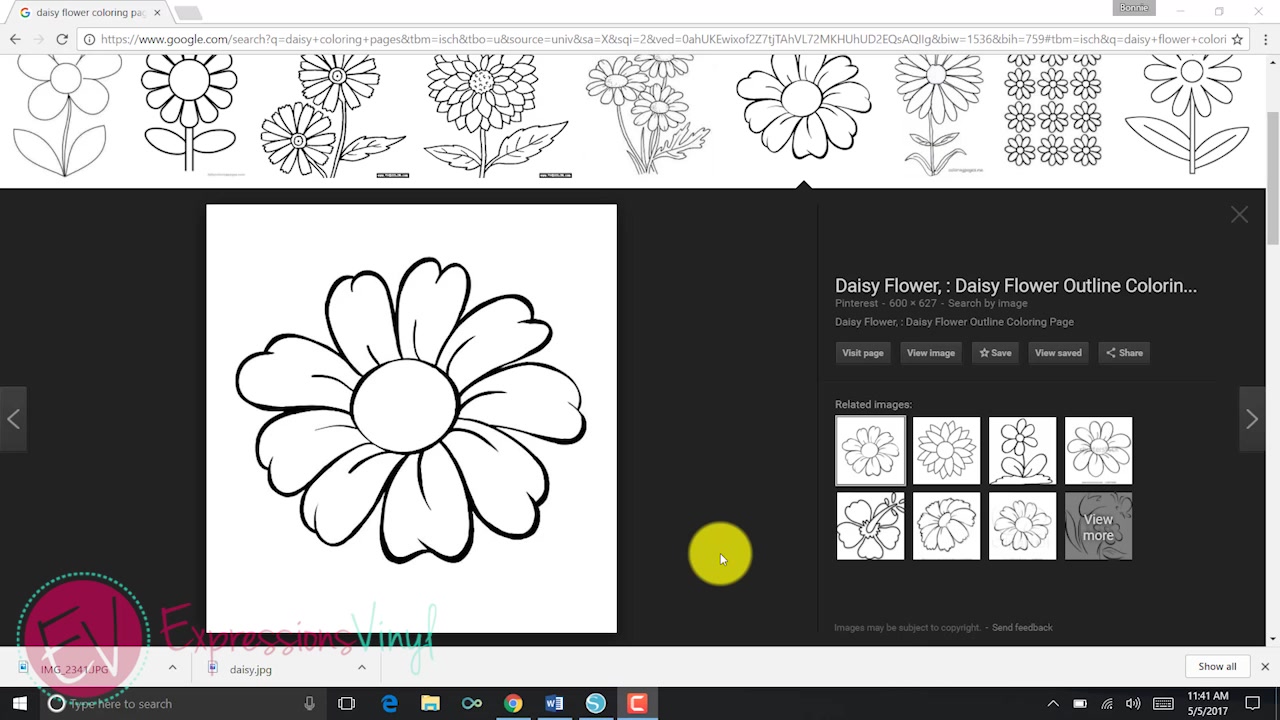
When you're looking for an image to download onto your silhouette, you want to make certain that it is a simple image, especially every bit a beginner. This is a simple black and white coloring page that I downloaded. Information technology has overnice direct lines so there's nada really wild and funky nearly it.
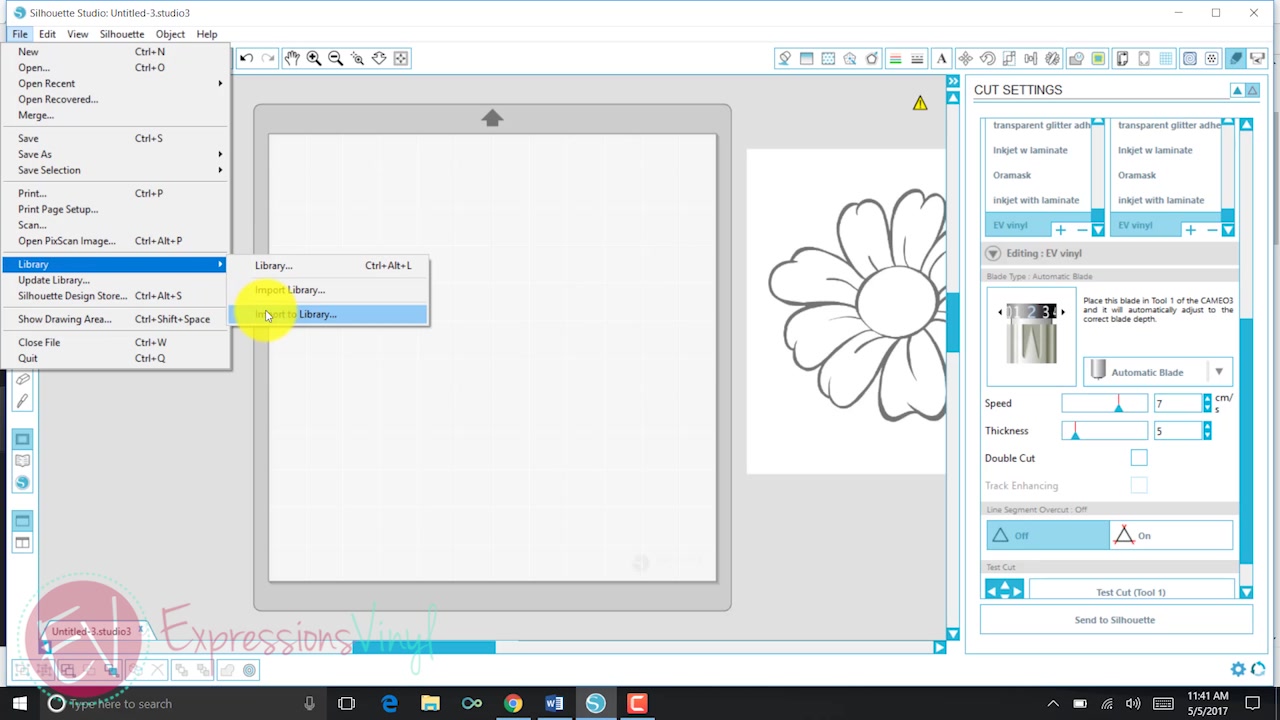
I've downloaded that onto my desktop then if I go into Silhouette Studio nether 'Library,' I'm going to 'Import to Library.' Side by side, select the image to import, so select OK.
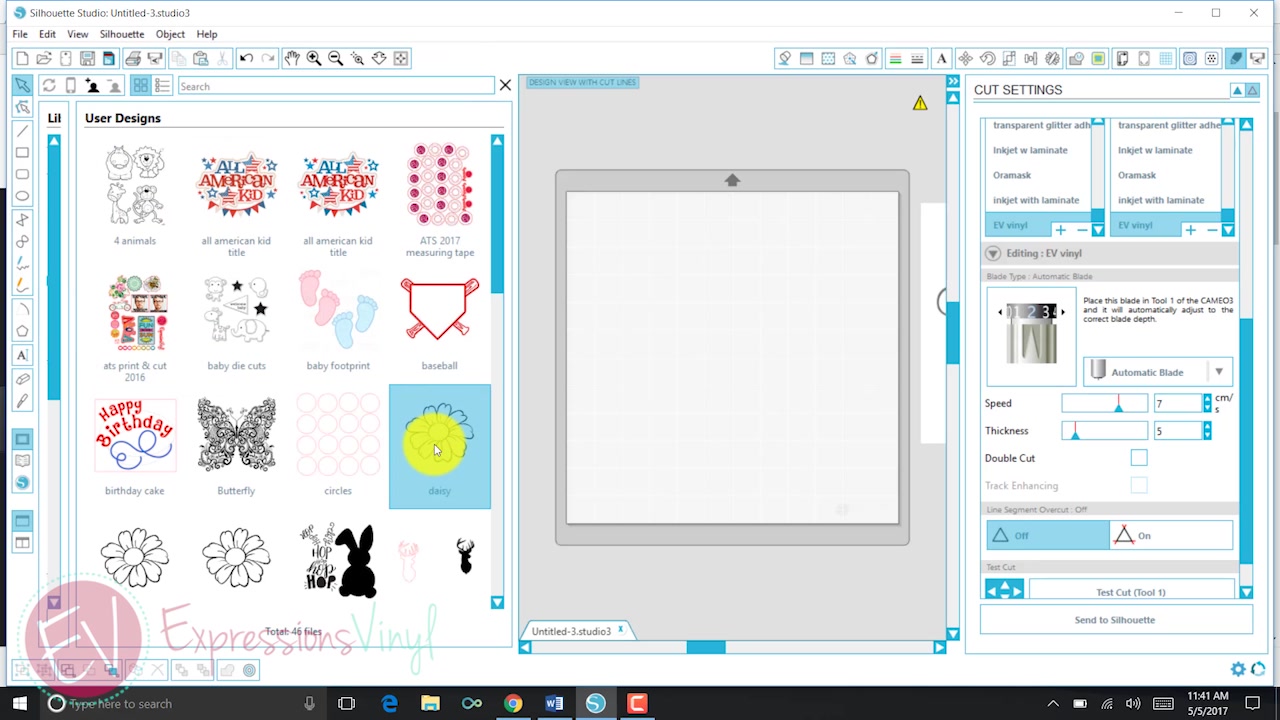
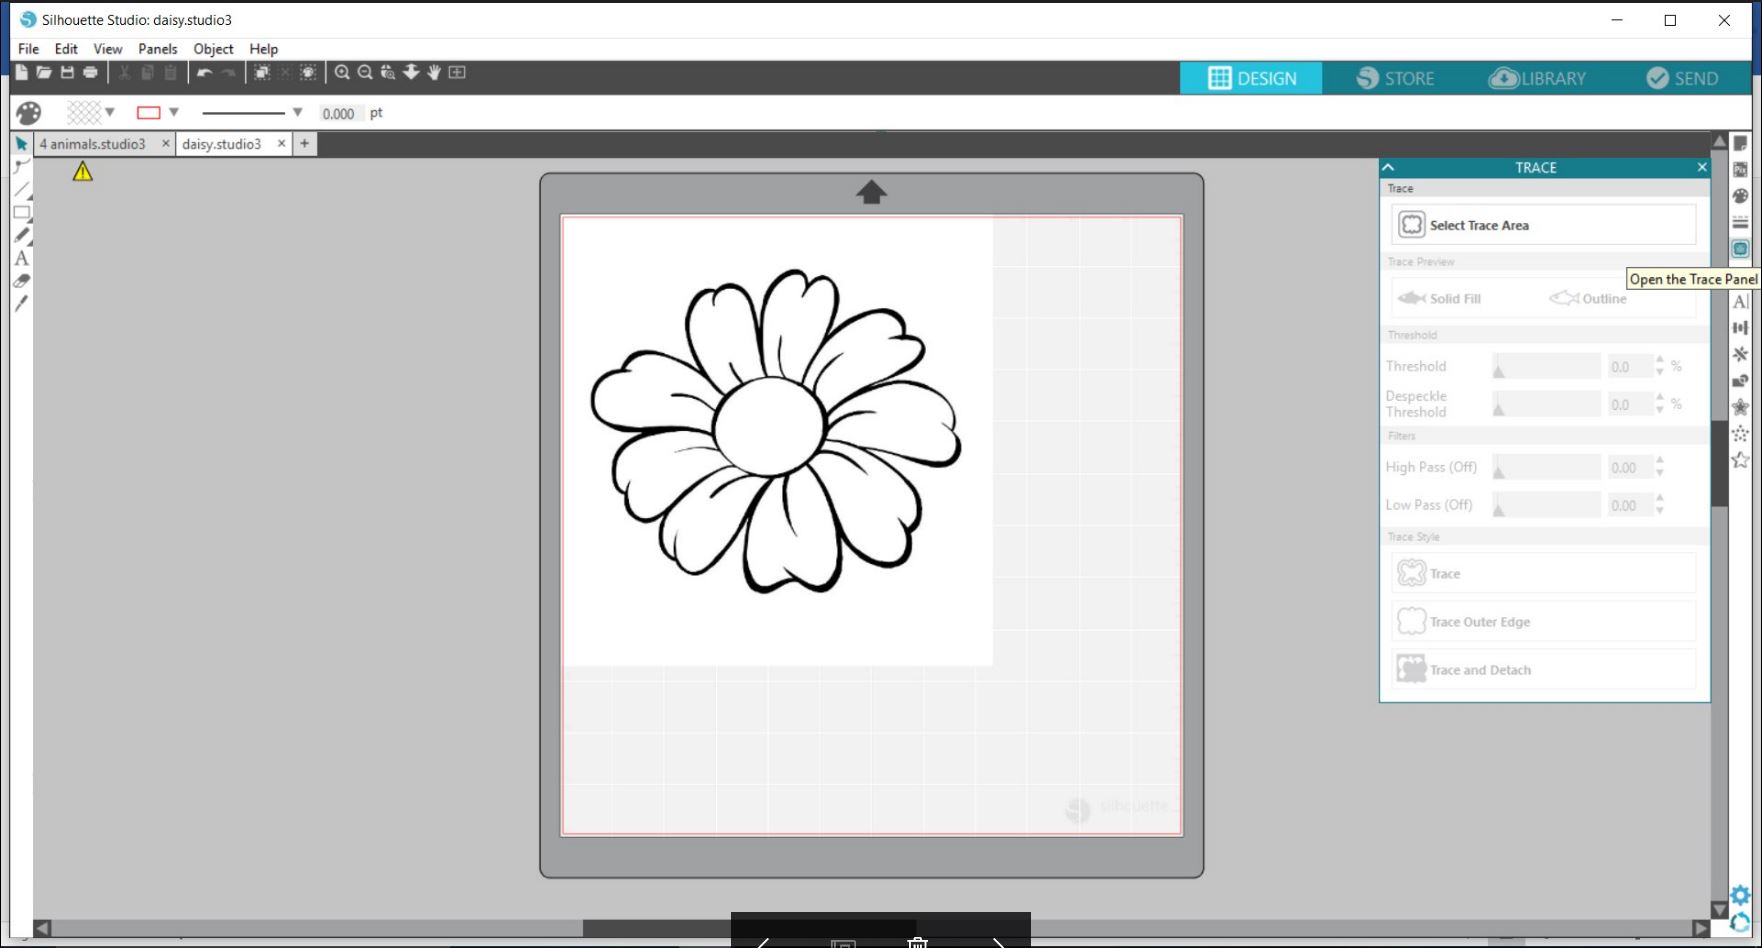
In silhouette studio, when I open my library, my image is now prepare to apply. I but slide it over onto my workspace! There is my daisy:
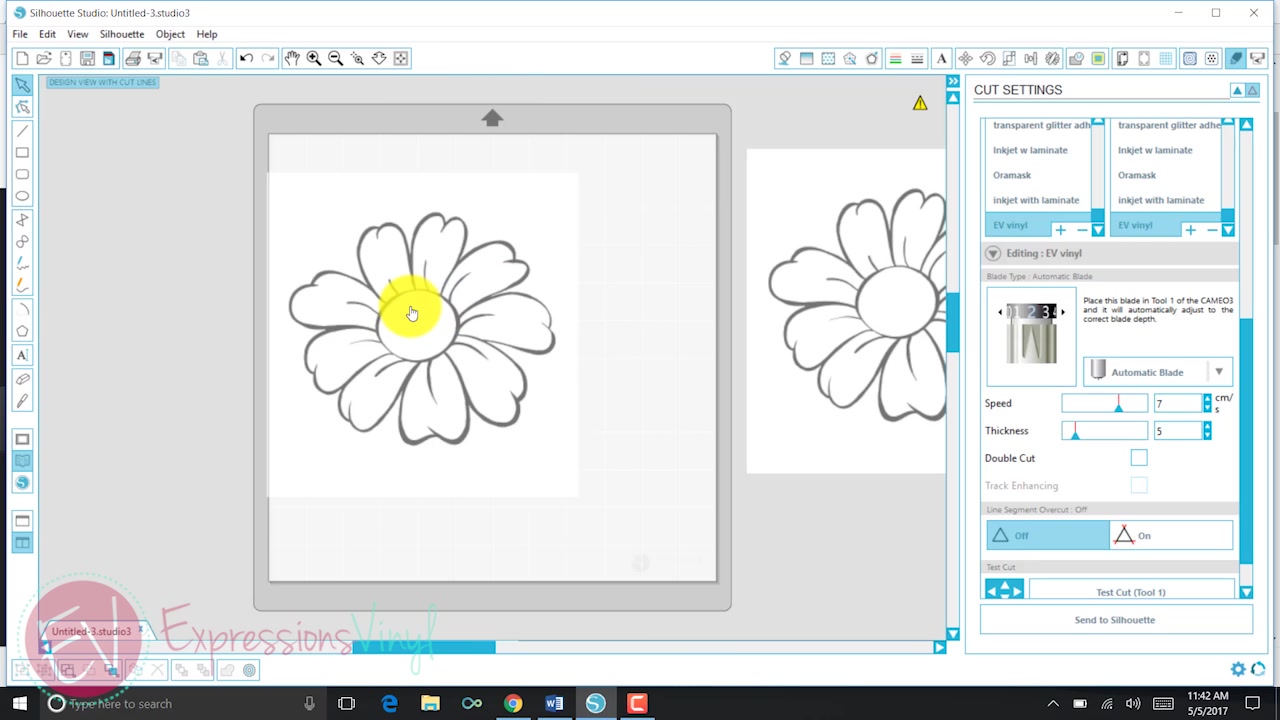
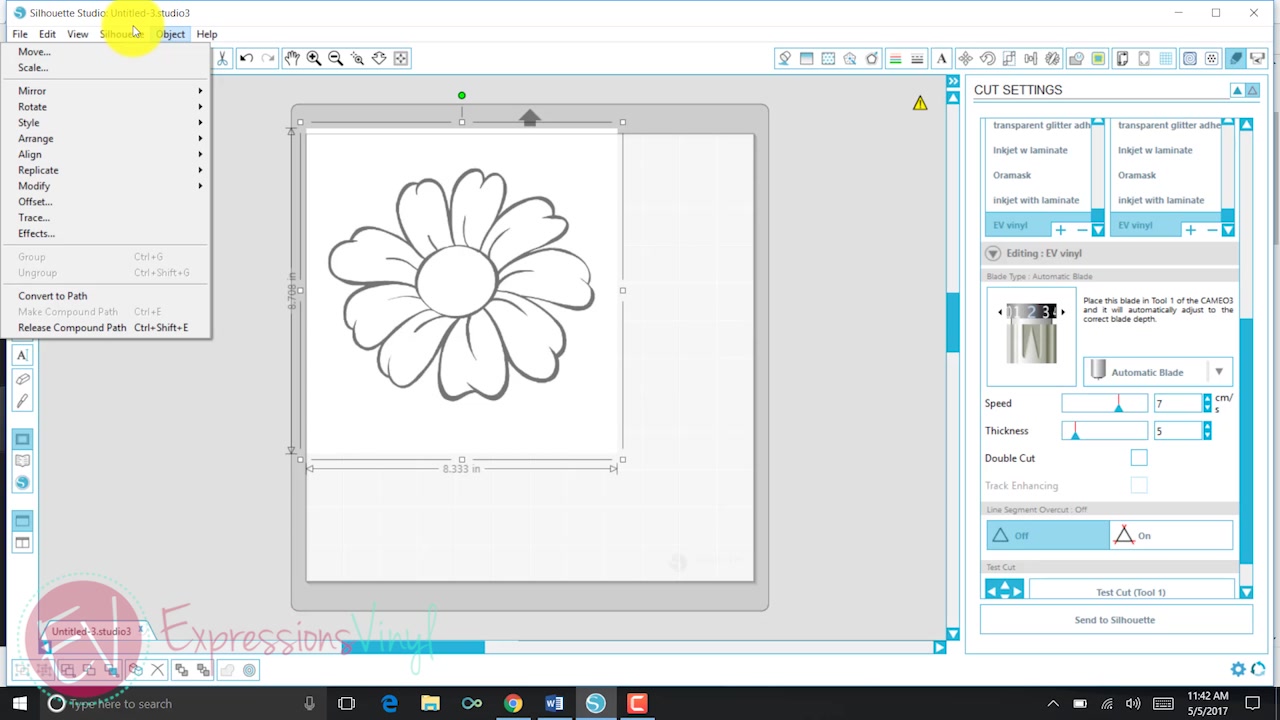
Although the prototype is now bachelor on my workspace, it is NOT gear up to cutting. This paradigm is still a moving-picture show, and so I need to convert it to an actual file.
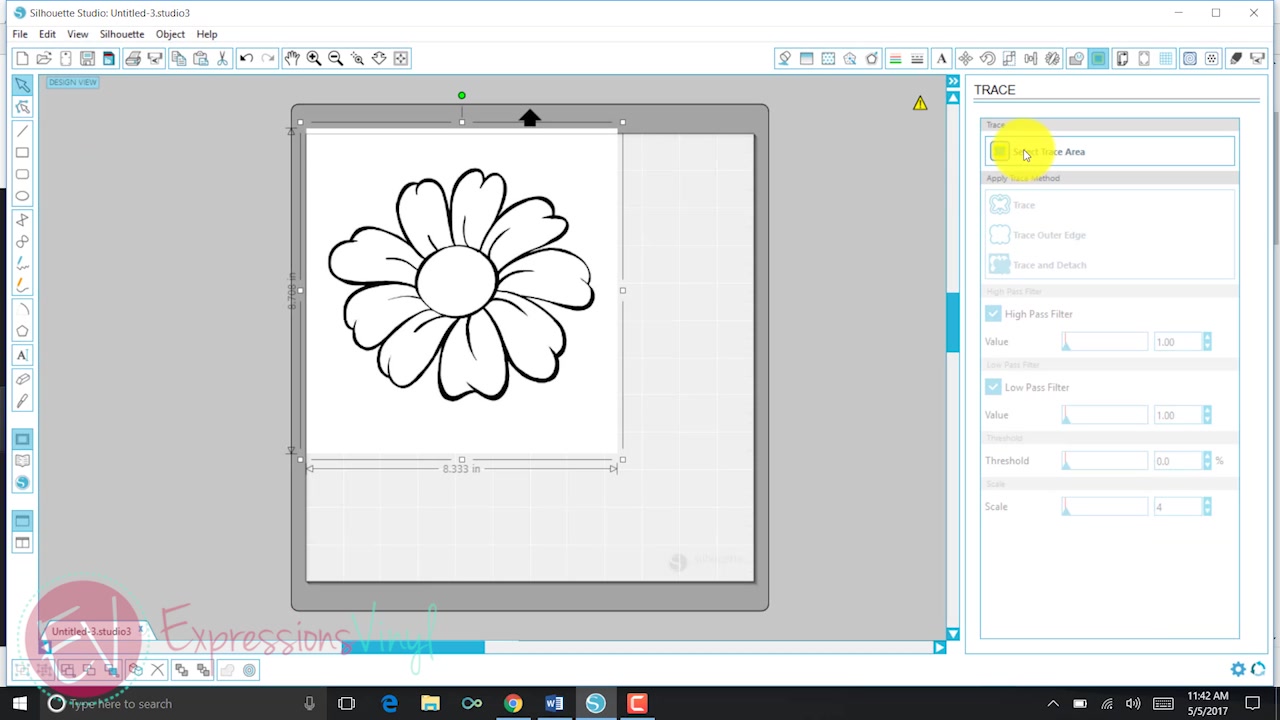
I'm going to do brand cut lines by using the trace tool. The trace panel can be constitute under the Object heading. (If you've updated to version 4.0 it can be found on the right side tool bar, as shown below)
Version iv.0
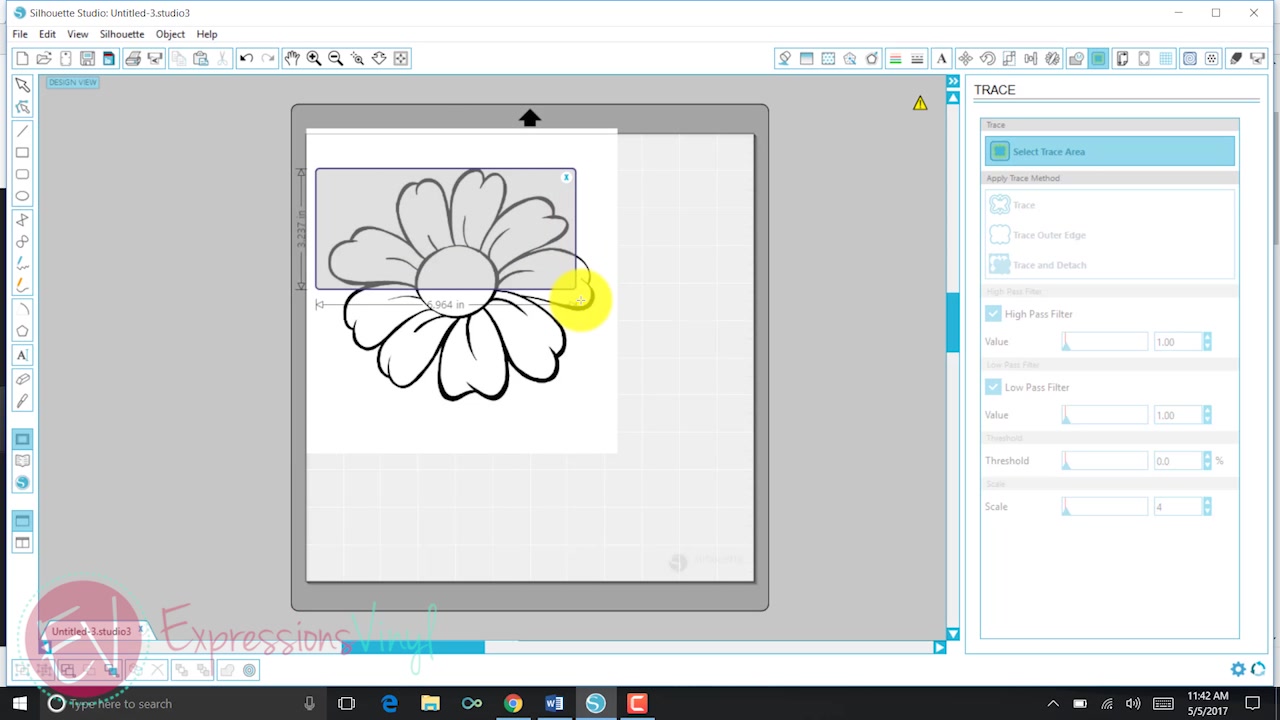
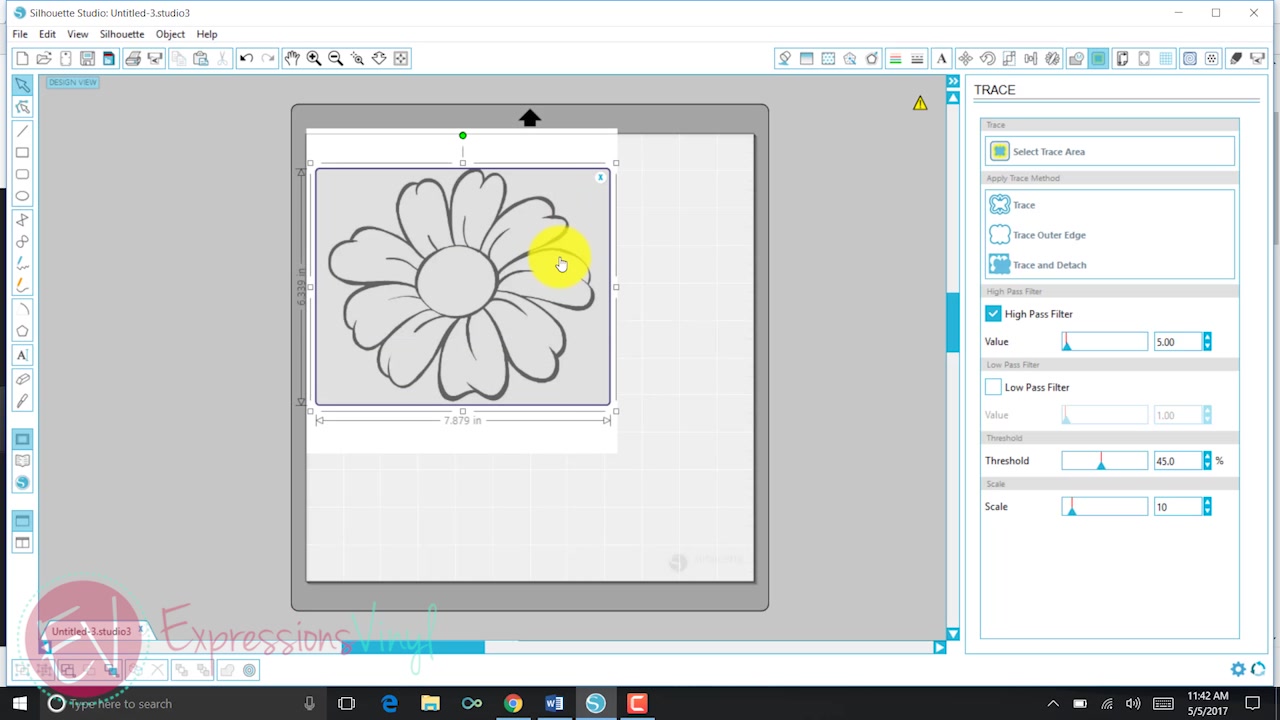
At the Trace Settings, click on 'select trace area.' This will then allow yous to put a box around everything you want to trace.
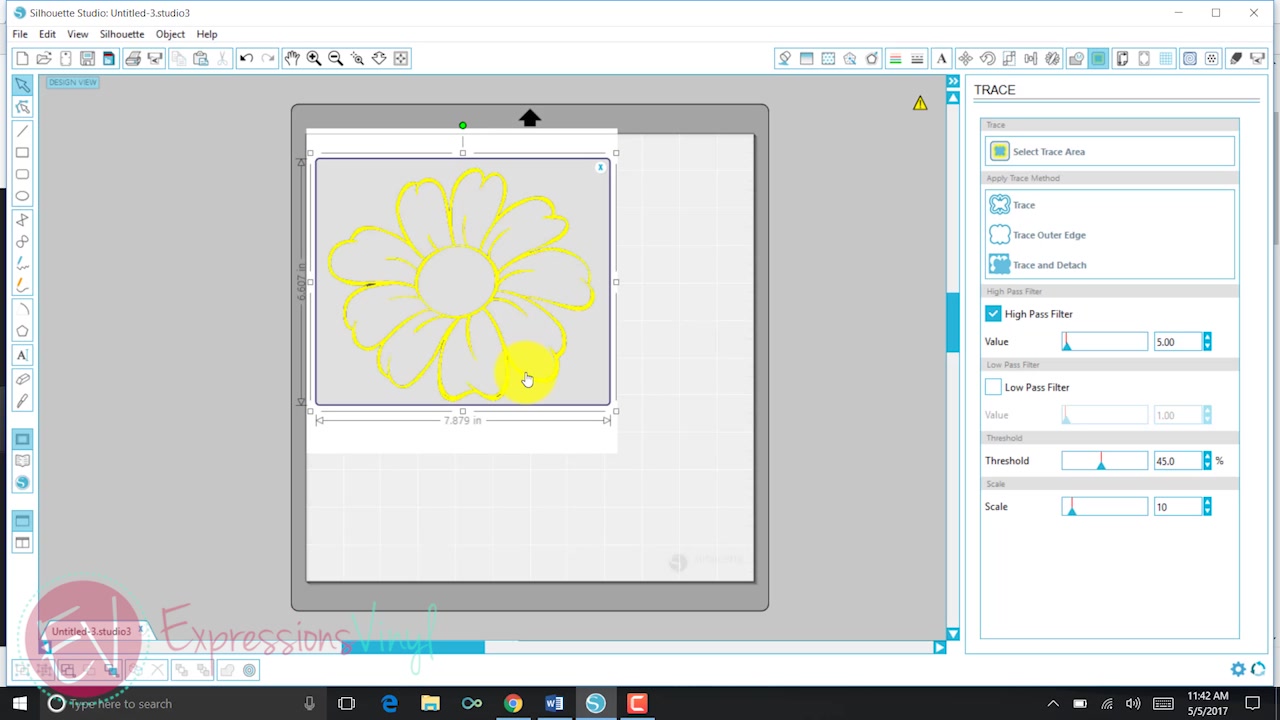
Silhouette has now "traced" my cut lines, and everything that is in yellow is now going to cutting. But you tin run across in my example that in that location are a few spots that aren't very yellow. You can increase the high pass filter slightly until your lines are all solid yellowish. (You may need to play with this a little bit.)
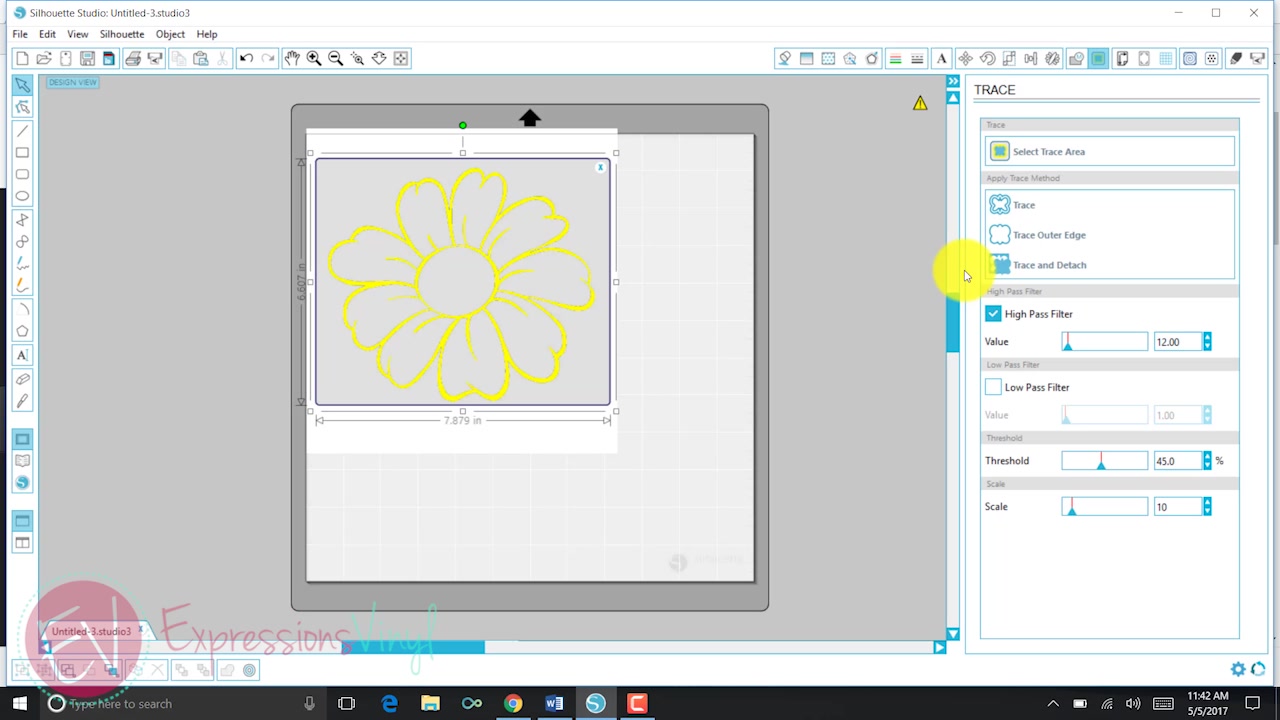
Once the lines are solid yellow, just select 'trace.' If you at present move your original pic off of your workspace, y'all will see the paradigm that you take just traced. There's my daisy!
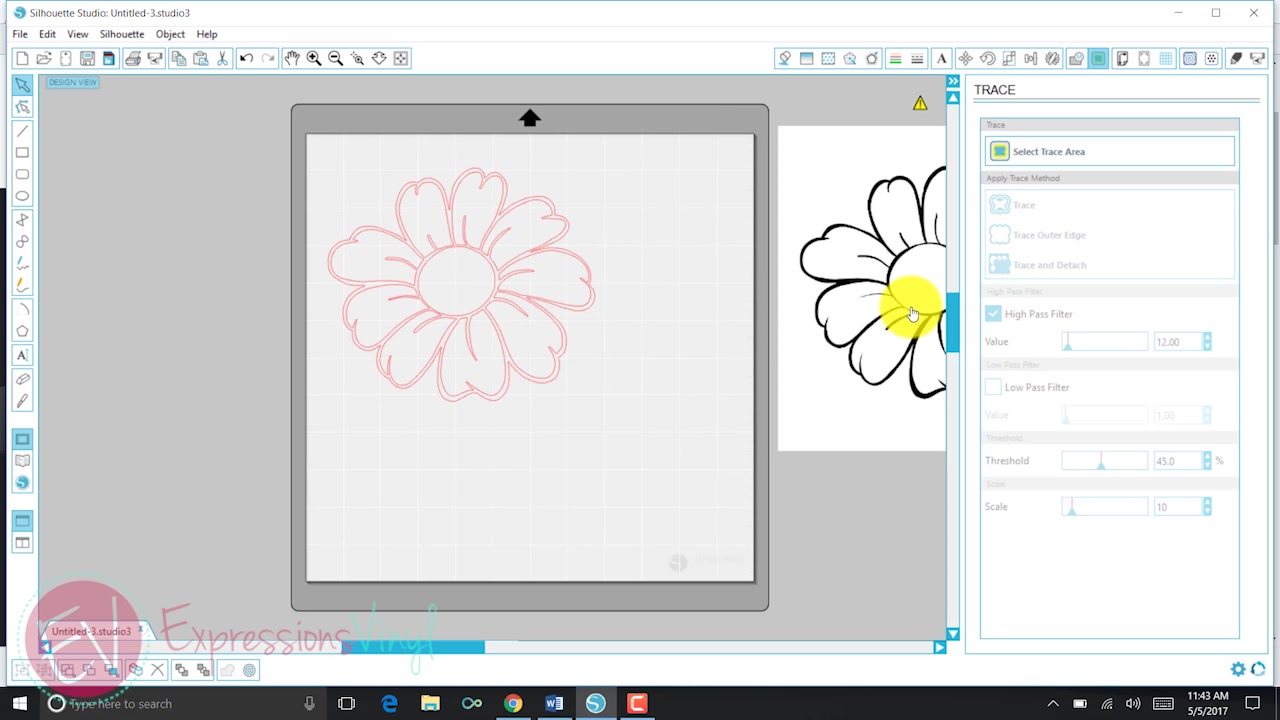
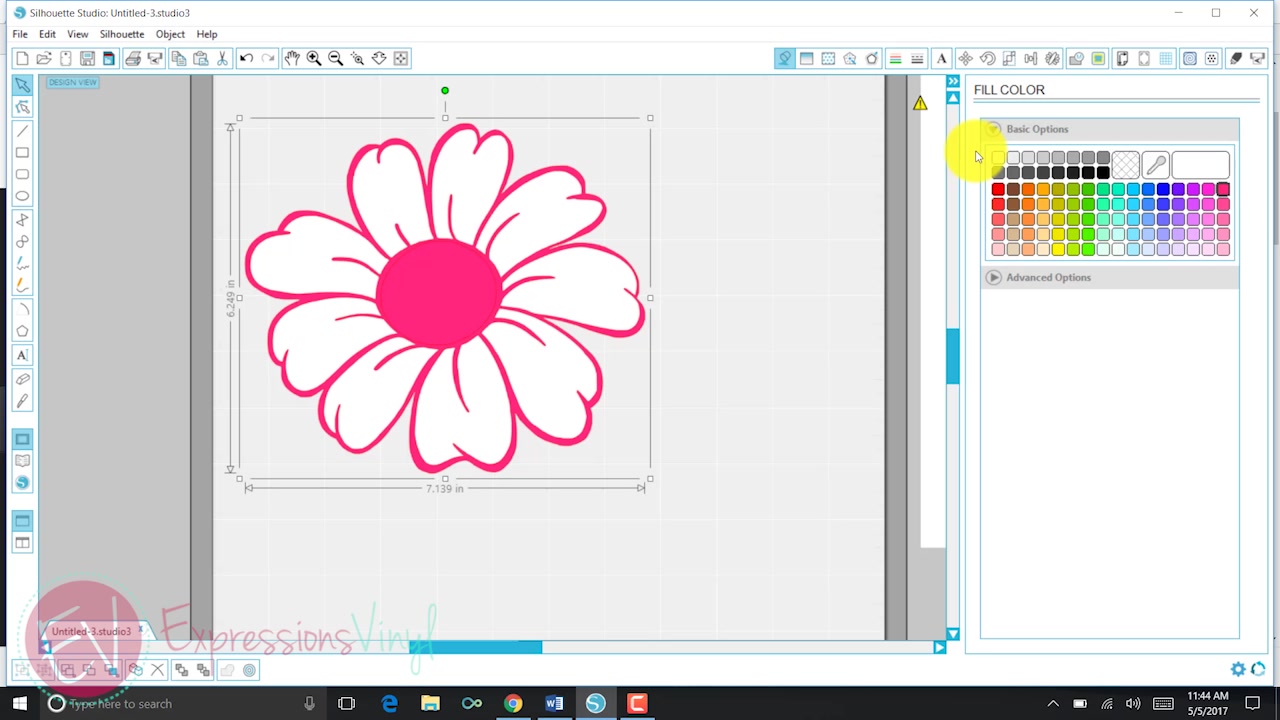
You can meet it traced really well with straight lines. If there'south something that's jagged or out of place, then that'south going to be a piddling fleck more difficult. If y'all don't like how it turned out, simply delete your trace and try it again! With my daisy, I decided to arrive 2 different colors. To do this, I am going to select my image, then release the chemical compound path.
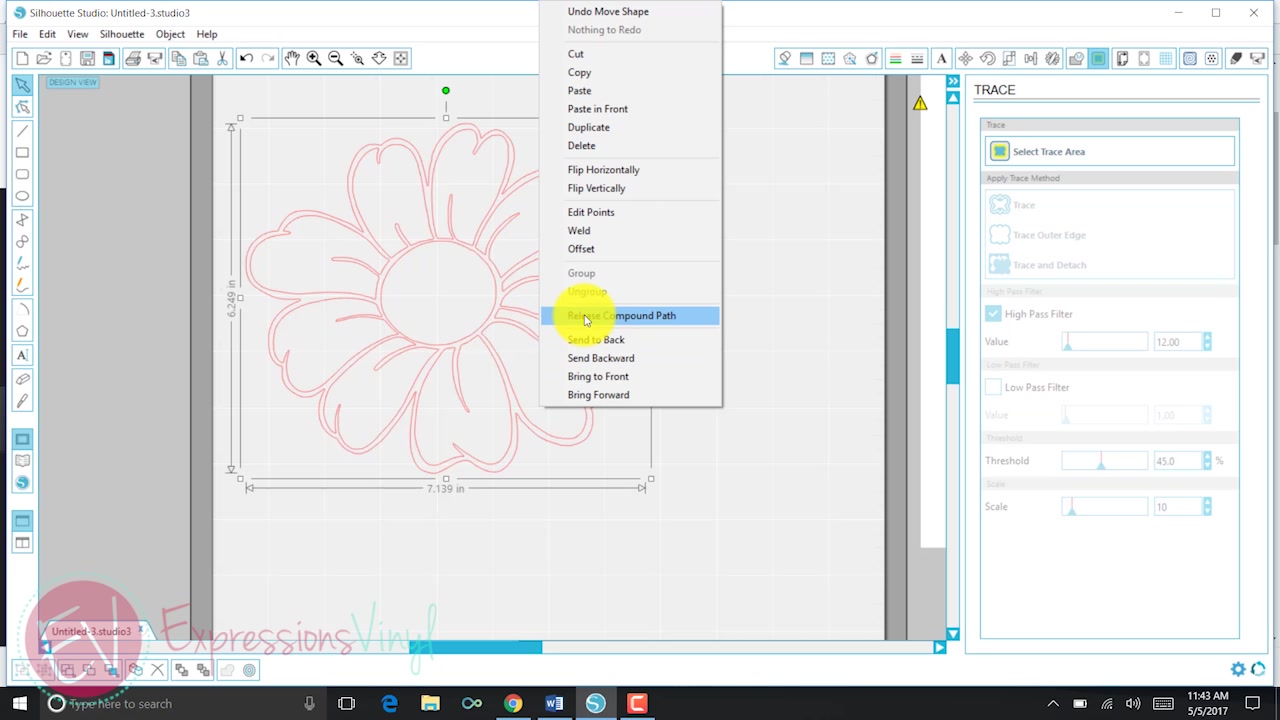
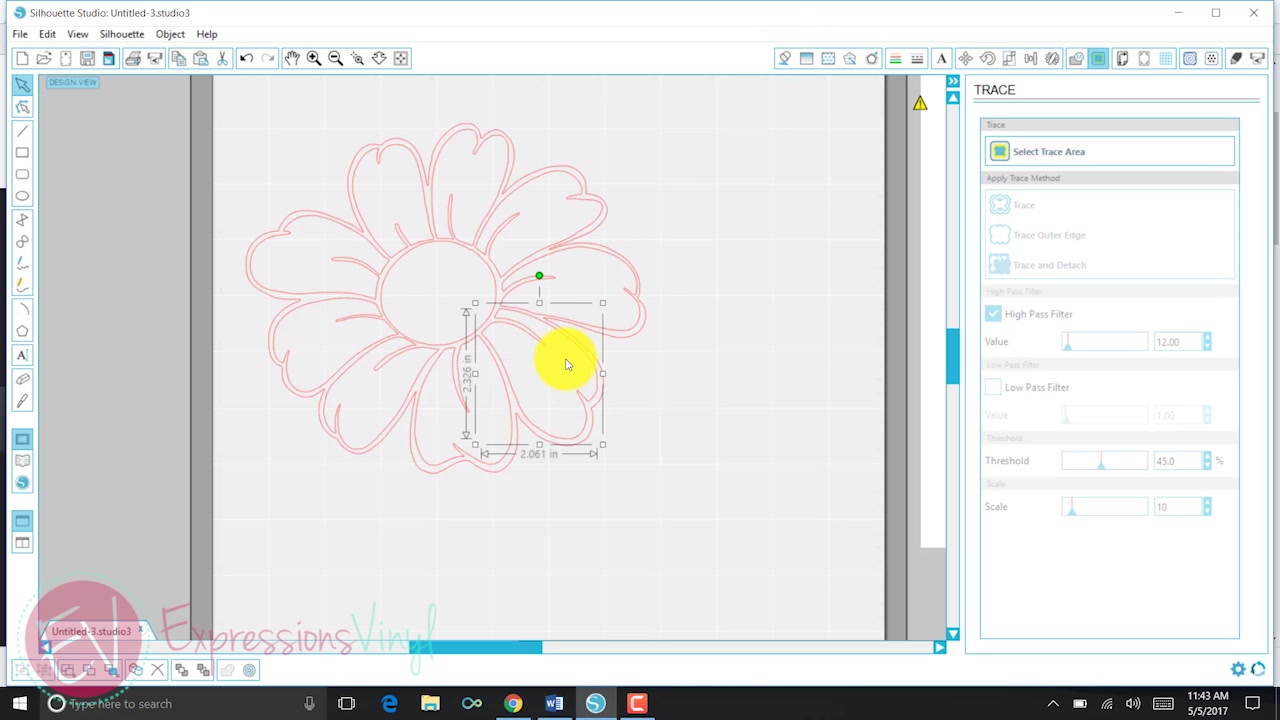
Now when I select each petal, it allows me to select them individually instead of as a group. I am going to select each petal and colour them white over on the color palette. Holding downwardly the 'shift' key while selecting each petal will allow me to group them all together. This makes cutting them out piece of cake!
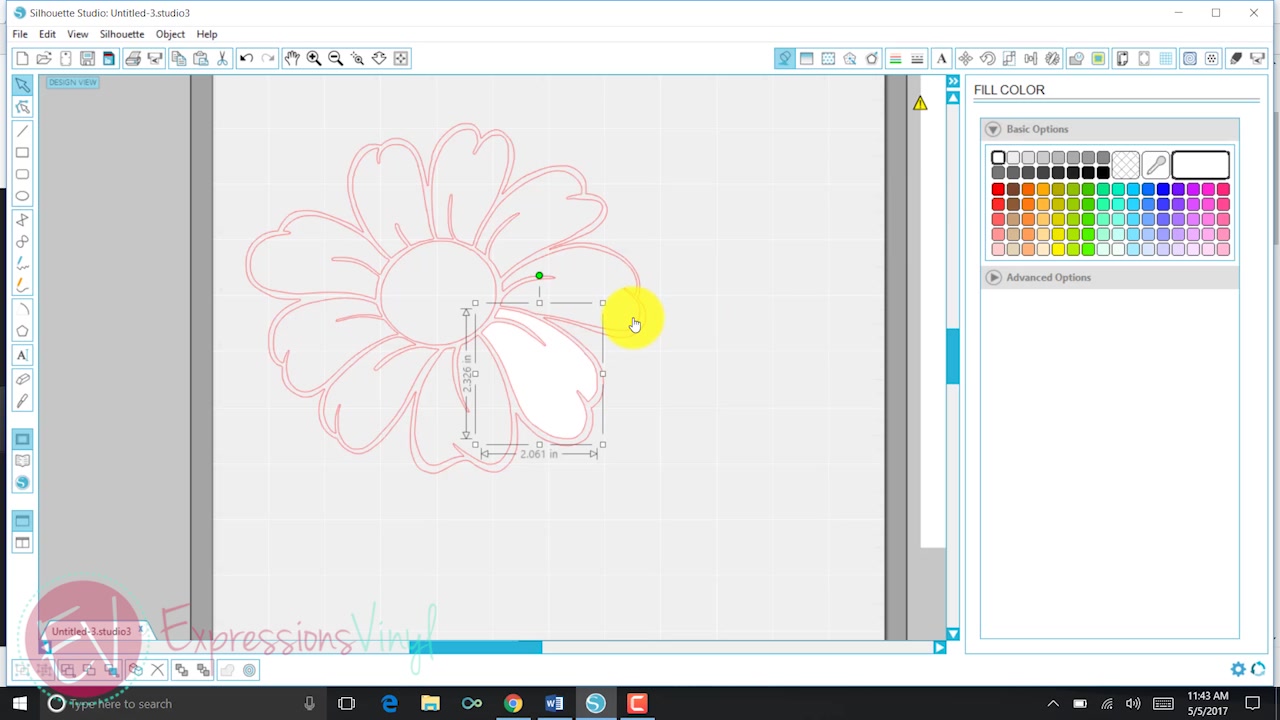


Selecting the outer edge of my daisy will highlight the back piece and let me to colour this a unlike color. If you lot are not able select and add the colors similar this, and then it has not been grouped properly.
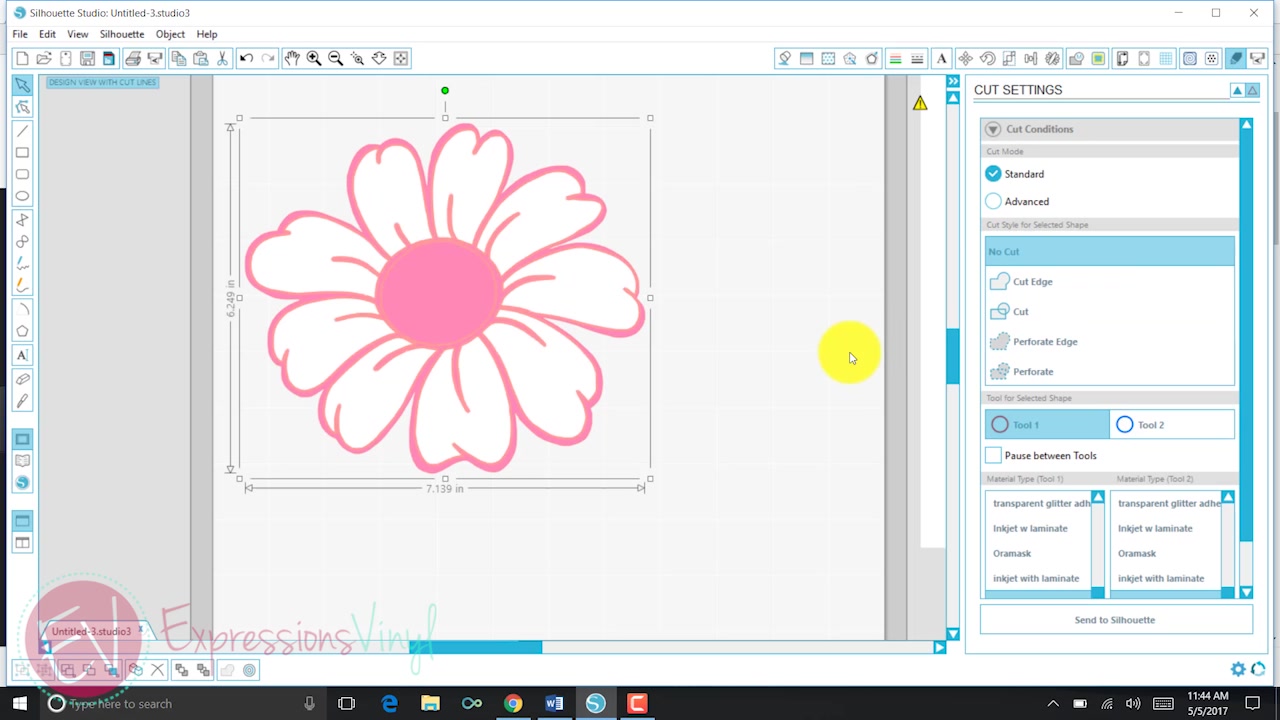
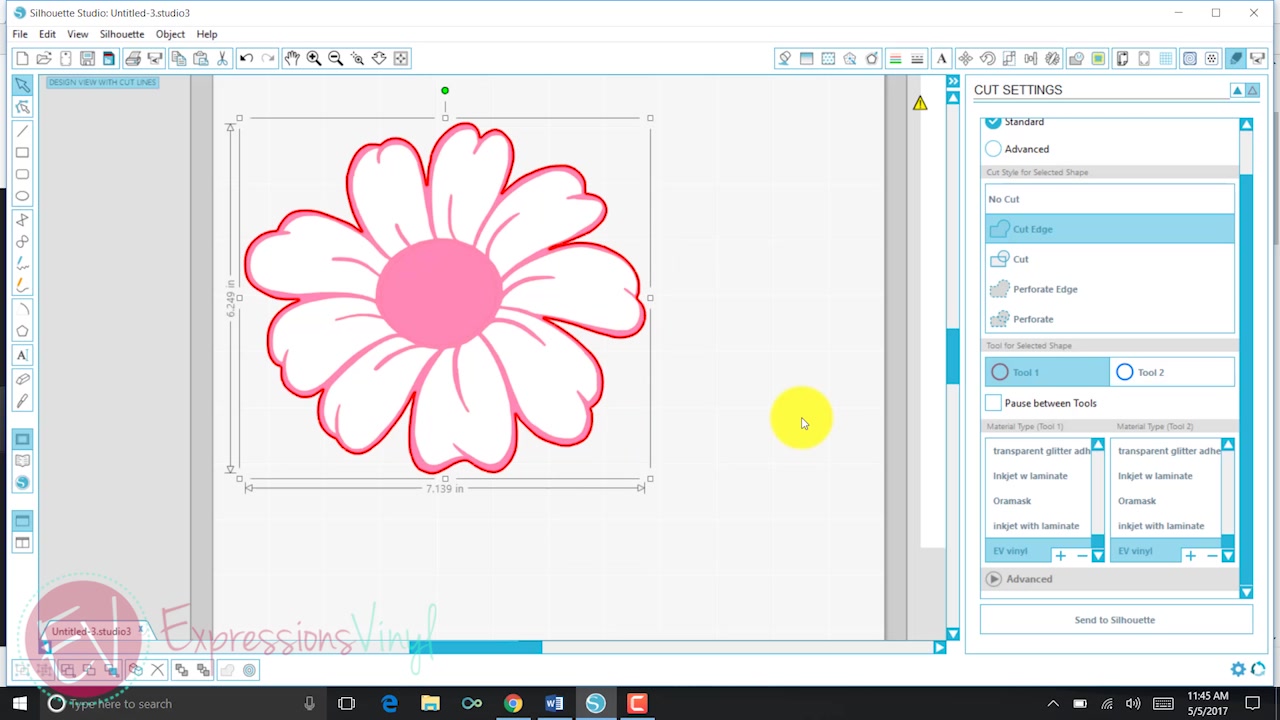
Now I'thou ready to cut my daisy. Since I am using two unlike colors of vinyl, I desire to select them separately in settings. Sending this to my machine without selecting the colors separately will result in everything beingness cut at one time, and wasted vinyl! I selected the pink background showtime and in my 'Cut Settings' tab, select 'No Cutting." (If you've updated to Version iv.0, the cut settings are nether 'Ship,' then select 'Action' equally shown beneath) Now as I ship it to my machine it will only cut the white petals. Always Make Sure To Do A Test Cut!!
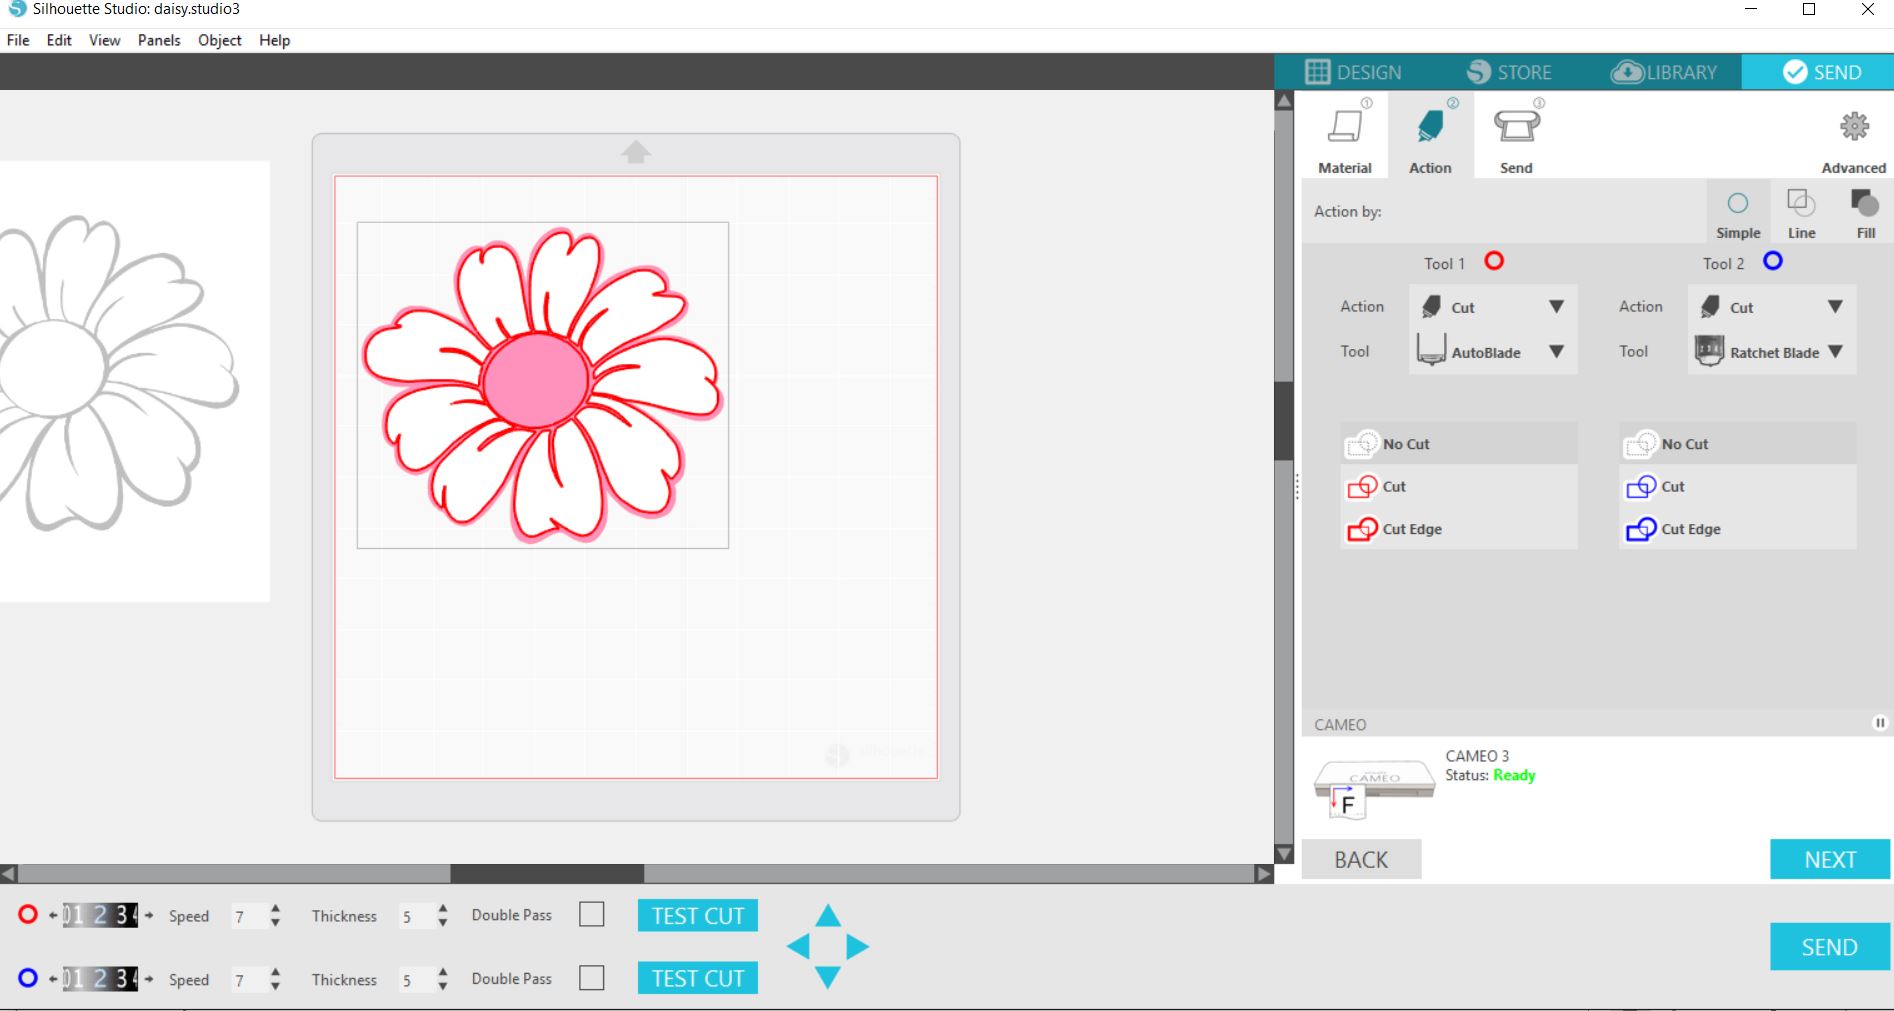
The same procedure is used in selecting the white petals every bit 'No Cut' and only cutting the pink background on your machine.
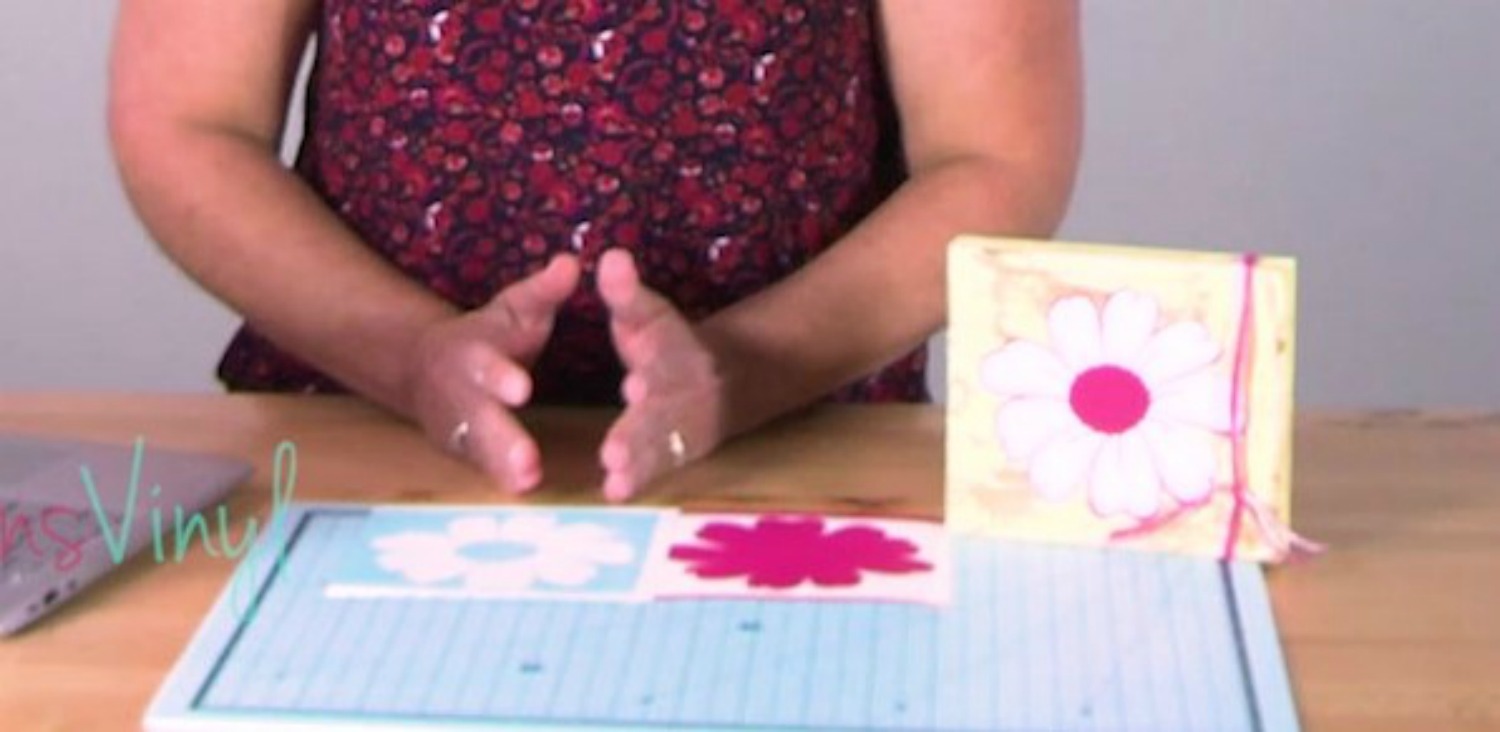
This is what it looks like when it is all cut out. Two separate pieces of vinyl, ready for something fun!
Hopefully y'all've learned an easy manner to import images. Just make sure beginners start with easy images, preferably black and white, and y'all'll have much more success. And and so you can gradually increase your knowledge from there. Have fun!!
May 30th 2017
Source: https://expressionsvinyl.com/blog/beginners-guide-to-importing-images-to-use-with-your-silhouette/
Postar um comentário for "How to Upload an Image to Silhouette"